What is an Image Block?
As the title suggests, the Image Block is used to insert an image into your page or post. It could be a photo, logo, icon, screenshot, graphic, or any other type of image you need.
How it Works
You could add an Image Block directly into a page or into a Container Block, or you could work with an Image Block that sits within another Refoundry block, such as a Query Block.
Block Settings
You can customize the Image Block using Style, Layout, and Settings options, giving you great flexibility in how you tailor elements to your design.
Styles Tab
Image Settings
These image settings govern aspects of how the image is presented on the page.
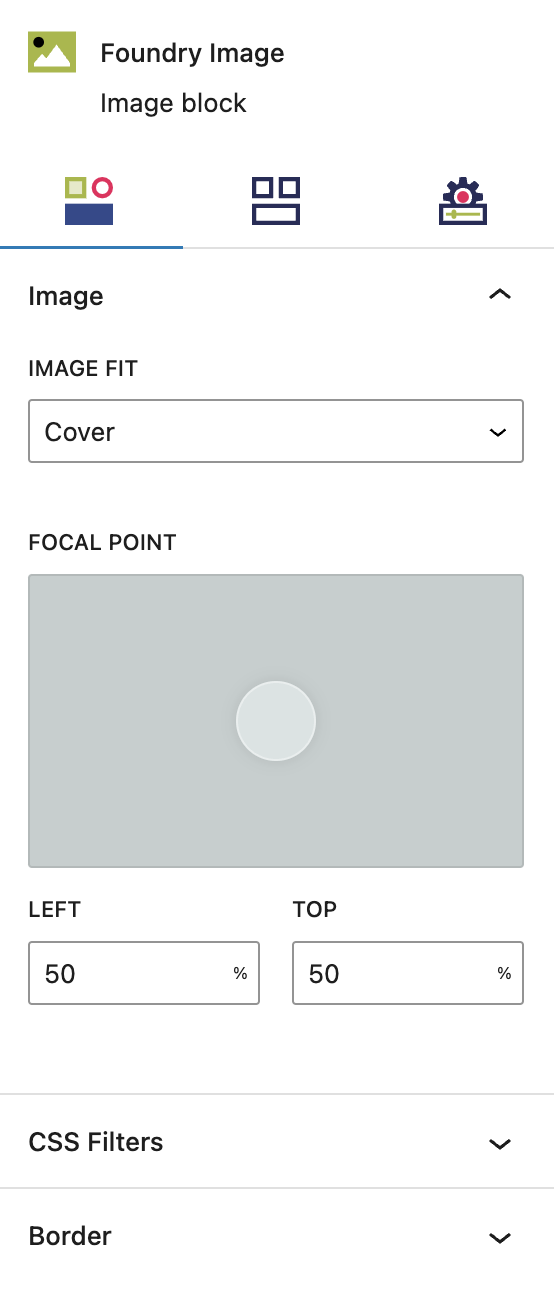
Image Fit
This group of settings controls how the image is fit or sized.
None: The image is displayed at its full size and dimensions.
Contain: This setting scales the image as large as possible within its container, without cropping or stretching the image.
Cover: This setting scales the image (while preserving its ratio) to the smallest possible size to fill the container (that is, both its height and width completely cover the container), leaving no empty space. If the proportions of the background differ from the element, the image is cropped either vertically or horizontally.
Fill: This setting scales the image (without preserving its ratio) to the smallest possible size to fill the container, leaving no empty space. If the proportions of the background differ from the element, the image is stretched either vertically or horizontally.
Scale Down: This setting scales the image so that its proportions are maintained to fit the smallest dimension and leave the entire image visible at all times.
More about
Image Sizing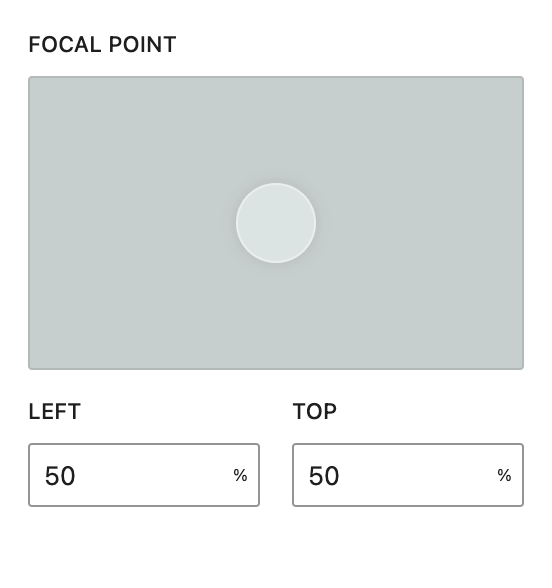
Focal Point
This is a drag-and-drop interface to adjust what point within the image is centered, in relation to your Image Fit selection. You would use this ensure your focal point is always centered to avoid unwanted cropping due to the Image Fit – it’s not the same as editing a photo to create a sharp focal point with blurred edges.
You can also set this manually with the Left and Top percentage fields.
More about
Image SizingCSS Filters Settings
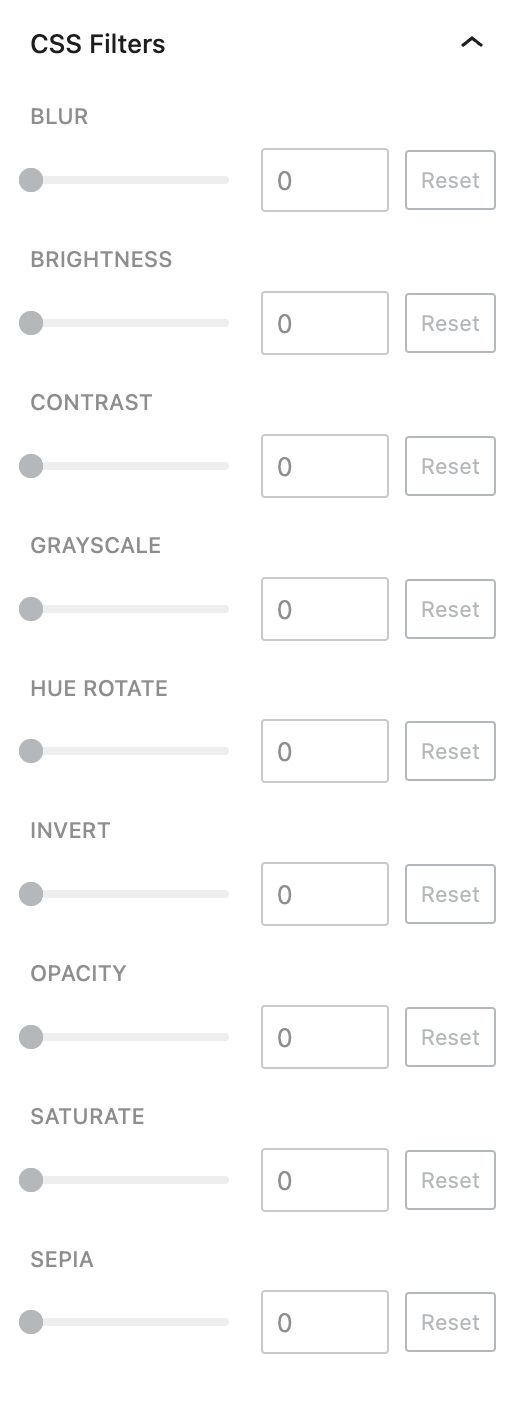
These options, available only to Pro users, are for customizing the uploaded image with an array of CSS adjustments that give you Photoshop-like filters, right there in WordPress.
CSS Filters
Blur: Adds a Gaussian-style blur effect to the image to make it less focused.
Brightness: Increases the brightness of the image.
Contrast: Increases the contrast ratio of the image.
Grayscale: Make any uploaded image fully grayscale, or increase the grayscale ratio.
Hue-Rotate: Adjusts the hue of an image along the colour wheel.
Invert: Inverts the colour samples of the uploaded image to the opposite end of the colour wheel – for example, a red image would become green.
Opacity: Makes the uploaded image more transparent, to allow underlying colours or images to show through.
Saturate: Decreases the saturation to make the uploaded image more desaturated, all the way to grayscale.
Sepia: Converts the uploaded image to sepia by percentages, giving it a warmer, more yellow/brown appearance.
More about
Image SizingBorder Settings
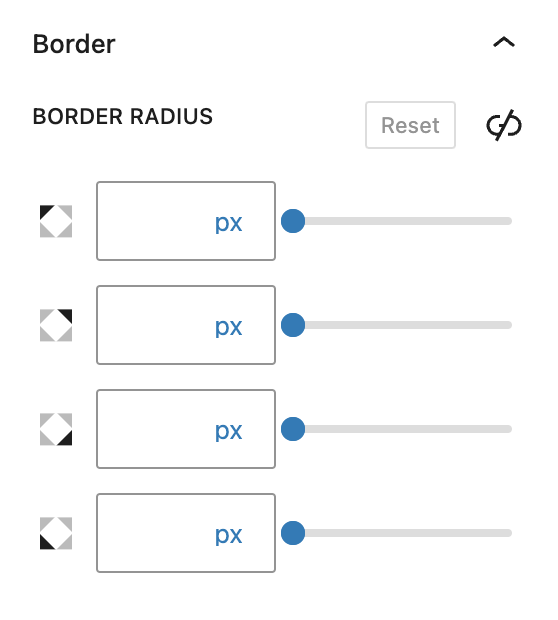
Border settings do exactly what they claim to do: govern the borders around the Image Block.
Border Radius
This value rounds the corners of the Image Block’s outer border edge. When enabled, you can control how much each corner of the Container Block is rounded. Use ‘Reset’ to bring everything back to zero.
More about
Borders & RadiusLayout Tab
Sizing Settings
These size settings are about the image’s size within the page, not to be confused with the size of the file you uploaded.
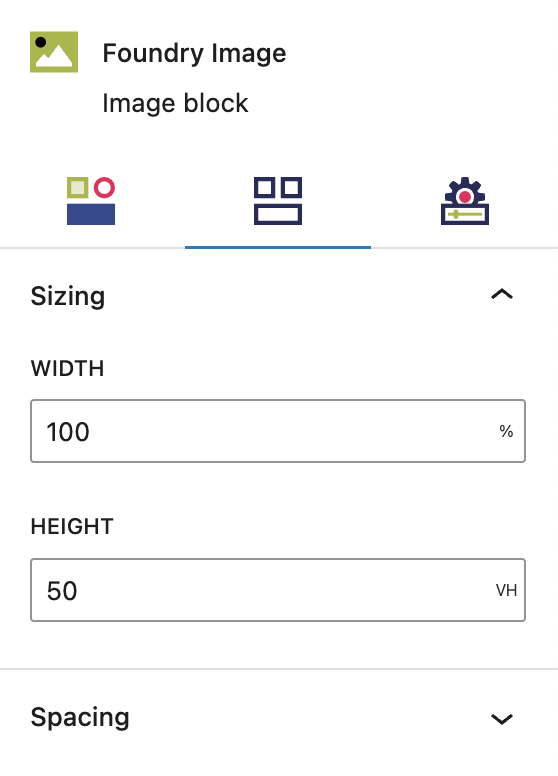
Sizing
This option sets the dimensions and units of the image in relation to the wrapping block.
More about
Measurement UnitsSpacing Settings
These settings govern the spacing within your Image Block, and the spacing around it.
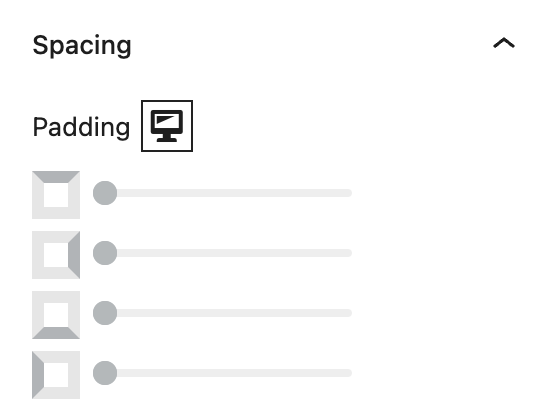
Padding
These top, right, bottom, and left sliders, with a range from 0 to 12, control the amount of interior space there is between the edges of the Image Block and its contents, ie. the image itself. Adding padding can move the image around inside the Image Block, and even shrink how it appears.
More about
Spacing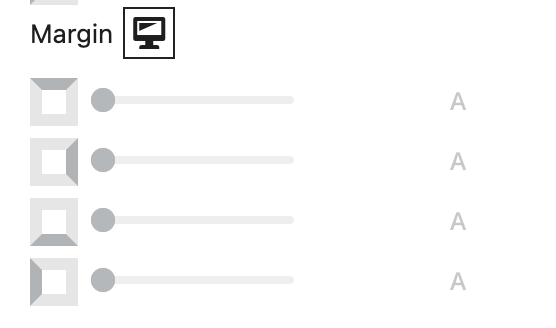
Margin
These sliders, with a range from 0 to 12, control the amount of exterior space there is around the Image Block and adjacent objects. Each one controls the margins around the top, bottom, left, and right edges of the Image Block.
More about
SpacingSettings Tab
Meta Settings
Meta Settings allow you to add metadata to the image file, for SEO and accessibility.
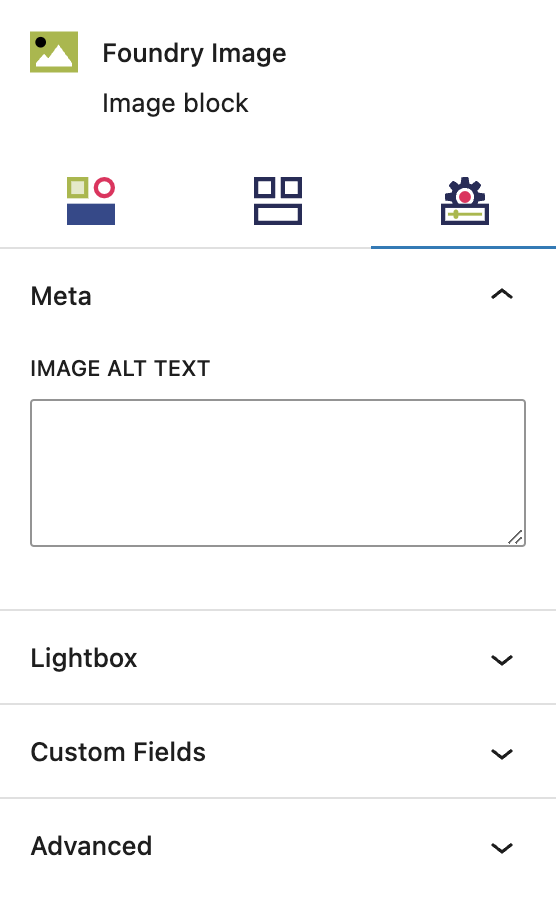
Image Alt Text
This field is where you can set descriptive text for the image. Alt text should be a short description of the image – it is not a place for keyword stuffing, or to use tools that populate the alt text field using page titles or keywords. Alt text is read aloud by assistive technology for those with vision impairments, to help them understand the image and context to your page.
More about
Theme CustomizationsLightbox Settings
These settings enable you to create a lightbox effect on your Image Block, dimming other elements around it.

Enable Lightbox
This setting overrides the image link setting to link to the loaded images full size file, opening it in a lightbox overlay.
More about
Theme CustomizationsCustom Field Settings
Custom Fields relating to Images are only available to Pro users.
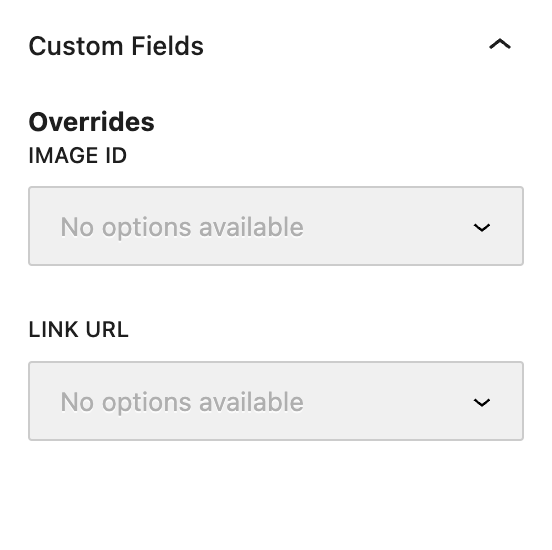
Overrides
This is where you can choose to override the default image with values entered into a post’s Custom Fields – meaning they are configured in Refoundry post type settings, and anywhere that post type (such as blog, case study, product, etc.) appears in Query Block on the site, the Custom Fields will appear as options. Values entered into those fields can be selected to be displayed here instead.
Image ID will override the chosen image file with a new image ID that you’ve inputted in the post.
URL will override the image link with the entered URL in the post.
More about
Custom FieldsAdvanced Settings
These settings are only accessible to Pro users (with the exception of HTML anchors), and also only accessible to site admins.
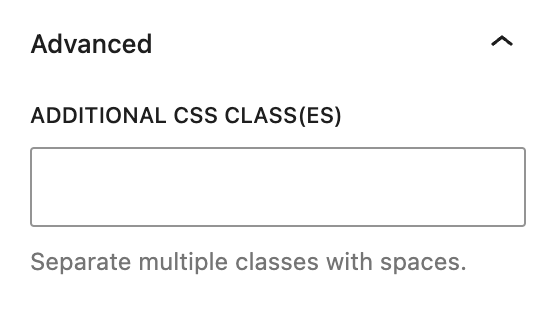
Additional CSS Class(es)
This allows you to enter a unique Class identifier, to facilitate custom CSS targeting within the theme for custom development.
It also enables the use of Refoundry utility classes.
More about
Theme Customizations